Showing posts with label Snowman. Show all posts

Monday, February 19, 2024

TAST 2024 Week 4: Chain Stitch


Week 4 of Take a Stitch Tuesday (TAST) 2024 at Pintangle(dot)com was the chain stitch. So, I created two more chain stitched snowmen using size 8 white pearl cotton. 


I also used glow-in-the-dark Kreinik to chain stitch a moon. 

These were added to my February Crazy Quilt Journal Project 2024 block.

There were 2 Beyond TAST stitches introduced, but I was unable to think of a way to work them onto this block. The stitches were the Raised Chain Stitch Version 1 and Raised Chain Stitch Version 2. If I work these into another project this year, I will share photos at that time.

I will be honest, I was much happier with my snowman on the January CQJP block than I am with the two on this block, but that is okay. 

Do you have a favorite way to use the chain stitch?

Thanks for stopping by!
Renee


Wednesday, January 17, 2024

Crazy Quilt Journal Project (CQJP) 2024 January Block


CQJP 2024 January Block

One of the things I love about crazy quilting is watching a bare block like this transform.

I was not happy with the tree stump as it was, so I carefully added satin stitches under the back stitch trellis with size 8 brown perle cotton.

Snow drops were added with 4 mm white ribbon. I put a ribbon stitch in the center and two straight stitches for the outer petals.

Green size 8 perle cotton was used to create stems with a stem stitch. A French knot was added to the center petals and where the stems met the blossoms.

Straight stiches of green 4mm silk ribbon created leaves.

I threaded a needle with two strands of size 8 perle cotton - 1 white and 1 green - and worked two rows of crossed buttonhole stitches from the bottom to the top to make whimsical little trees. 

Small silver flower sequins were attached with clear Mill Hill Petite Seed Beads using a single strand of DMC floss #762.

It is so nice to be able to spend time relaxing with embroidery again. 

Thanks so much for stopping by!

Renee


Monday, January 15, 2024

How to Embroider a Snowman Using Chain Stitches

 
Embroidered Snowman Using Chain Stitch

It has been a couple of years since I embroidered a snowman using the chain stitch. I had a hard time remembering exactly how I did it, so I thought I would make a tutorial to refer back to in the future.

First, I used a quarter (on the bottom), a nickel (for the body), and a dime (for the head) and traced them with light pencil marks on the back of the block.

Starting from the center of a traced circle, I made a triangle with three chain stitches. Then, I continued chain stitching in a circle until it was the desired size.

I used white DMC size 5 thread.

As seen in this photo of the back, my stitched circles ended up slightly off center. However, starting in the center of each circle and chain stitching in the same direction kept all three sections of the snowman lined up.

I ended the chain stitches at the bottom of each circle.


Once the body was stitched, I needed to decide on the face. I wanted this snowman to look up towards the moon on the block. 

Using 2 strands of a variegated DMC orange floss, I made a triangle pointing up towards the sky using 3 straight stitches.

Using the same floss, I satin stitched the nose. (I have found my satin stitches are a bit more even if I create an outline to stitch over first.)

Next, I attached size 10/0 black Czech glass seed beads, using a single strand of DMC black (#310) floss, to create eyes and a nose.

For the mouth, I couched 2 strands of the same black floss down using a single strand of black to tack it down. 

To be honest, I was nervous about adding a scarf and a hat. Using a single strand of a light blue embroidery floss and back stitches, I created outlines for them both. (I traced the outlines on the back of the block first to use as a guide.)

Using a variegated blue/purple/pink size 5 DMC thread, I satin stitched the hat (starting with the brim) and the scarf.

Next, using the same thread and Turkey Knots, tassles were added to the scarf and a fluffy ball was added to the end of the hat. 


Using a variegated brown DMC floss, I removed one strand (of 6) to couch down the remaining 5 strands to make arms for the snowman. Fly stitches were added to make the hands, using the 5 strands of floss.

You may have noticed the tree branches in the photo with the arms. I knew I wanted to add a tree, and decided to make that first so the arms on the snowman would use a brown in the tree. 

The tree was created using the Easy, Breezy Trees Tutorial on Kathy Shaw's blog (found here). A variety of threads were used. I cut lengths of Kreinik Metallics Pearl #4 Very Fine Braid, DMC Metallic white/blanc floss (all 6 strands), 2 shades of DMC variegated brown flosses (all 6 strands), and white DMC perle cotton in sizes 8, 5, and 3. I used a single strand of white floss to couch down most of the tree. Some of the brown branches were couched with a single strand of one of the brown variegated flosses.

Thank you for stopping by! If you use this snowman tutorial, I would love to see your creation.

Please note: 
1. You may click on a photo to see a larger image.
2. Directions for all of the stitches used for this tutorial (except the straight stitch) may be found in the Stitch Dictionary at Pintangle(dot)com here.


Saturday, December 30, 2023

2024 Crazy Quilting and Hand Embroidery Opportunities


Snowman made with TAST Stitches in 2022

Do you want to learn hand embroidery in 2024?


If your answer is yes, I strongly encourage you to check out Sharon Boggon's Take a Stitch Tuesday (TAST) challenges for 2024. 

This is a no pressure challenge with weekly stitches introduced that beginners can learn. There are Beyond TAST stitches shared with intermediate embroiderers in mind. And there is a TAST Design Challenge, if you are looking for something more advanced. 

The snowman in the photo above was created using the stitches introduced in the first two weeks of 2022. 

If you are interested, I encourage you to check out the TAST FAQ page at Pin Tangle


Do you want to make a crazy quilt in 2024?


If your answer is yes, I encourage you to check out the Crazy Quilt Journal Project 2024 (CQJP 2024).
 
This is a challenge to create one crazy quilt block a month (8-inches or larger) in 2024. The blocks may be pieced now, but stitching begins on January 1st.

The goal of CQJP is to share the art and techniques of crazy quilting. It is the organizers' hope that participants will submit their completed crazy quilts into their local display and contest venues - or possibly even national and international venues.

If you are interested, please read the 2024 Challenge Rules, Questions & Answers, and Use of Photos prior to the How To Register page.

My 2024 Goals


I have signed up to participate in CQJP 2024 this year. My goal is to make 3 small crazy quilted wall hangings featuring 4 blocks with snowman themes. The blocks will incorporate as many 2024 TAST stitches as possible. I also plan to fully complete one or two wall hangings to enter in the county or state fair this summer.

The first 4 blocks are being pieced today. 

For inspiration, I looked through some of the snowmen I have created in the past. 

You may click on a photo for a larger image. The captions link to the original blog posts.

I am wishing you a very crafty 2024!

Renee

Wednesday, December 27, 2023

Christmas Ornament Snow Much in Love Weeks 1 - 5

Christmas Ornament Snow Much in Love - 5 Weeks

It has been nearly two years since I last had time for crafting! If you follow me on Instagram, you know that changed recently.


In late November, I carved some time out of work and school to begin working on the Heaven and Earth Design (HAED) Christmas Ornament Snow Much in Love cross-stitch based on the wonderful artwork of Dona Gelsinger.

I love Dona Gelsinger's art and had a hard time deciding which chart to buy during a recent sale at Heaven and Earth Designs. My youngest son helped me select this one.


I *think* there are 40,022 stitches, but I already found one mistake on the spreadsheet I created. Let's just say that should be pretty close.

This was my first time starting a HAED in the center. It is stitched 2 over 2 (2 strands of floss over 2 squares on the fabric) on 28-count Aida.

Although the name of the chart begins with "Christmas Ornament", it be far too large to make an ornament with. I plan to have it framed when it is complete.

I am currently on track to meet my goal of adding at least 700 stitches each week to finish this beauty by December of 2024. 

Thanks for stopping by!

Renee


Wednesday, January 19, 2022

TAST 2022: Weeks 1 & 2


Sharon Boggon of Pintangle(dot)com is offering a new round of Take A Stitch Tuesday (TAST) this year. Every week, Sharon shares instructions for two new embroidery stitches. TAST offers basic stitches and Beyond TAST teaches a more advanced stitch.

Although I may not have time to complete every stitch this year, I decided to begin working on a fabric book with samples from the 2022 TAST and Beyond TAST stitches. (Click on any photo for a larger view.)

Chain stitches worked with white DMC size 5 pearl cotton created a snowman. Straight stitches with 2 strands of orange DMC embroidery floss added a nose. A single strand of black DMC embroidery floss was couched down to create a smile. And black size 10/0 beads created buttons and eyes.

A sample of the linked chain stitch was worked with 2 strands of DMC Coloris #4514 variegated embroidery floss. 

The beaded linked chain stitch was worked with the same floss and clear size 10/0 beads.

Ice-crusted snow was added to the snowman scene with the beaded linked chain stitch using a strand of white DMC size 12 pearl cotton and clear size 10/0 beads.

A single fly stitch was worked with 2 stands of Breezy Artiste variegated satin floss #769331. 

A fly stitched leaf was worked with a strand of green Anchor size 8 pearl cotton.

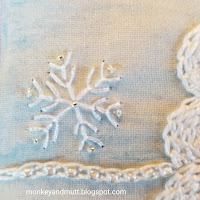
A single snowflake was created with a strand of DMC silver metallic thread.

Snowflakes were also added to the snowman scene using 2 strands of white DMC metallic floss. Clear Mill Hill Petite Glass Seed Beads added a little sparkle.

A sample of the Italian border stitch was worked with 2 strands of the Breezy Artiste variegated satin floss #769331. Clear blue size 10/0 beads were added where the two rows of the border stitch met in the center. 

If you are interested in learning hand embroidery, I strongly encourage you to check out TAST. You may find the TAST FAQs here or Sharon's Stitch Dictionary here.

If you are participating with TAST 2022, I would love to know!

Thank you for stopping by.

Renee

Tuesday, February 27, 2018

Another Snowman Mug Rug


While having my tires rotated today, I finished sewing the binding onto this mug rug. 

I printed the "Snowman" digital stamp from The Paper Shelter onto fabric and colored it at the same time I printed the mug rug I finished last month. And I am happy to say that the black ink from the inkjet printer washed beautifully. 

As part of the 1 X-mas Item a Month Blog, I am striving to complete at least 12 Christmas items this year. You may see what others are creating here.

Monday, January 29, 2018

Pink Snowman Mug Rug


Today, I finished hand sewing the binding on this mug rug. 

The "Snowman" is a digital stamp from The Paper Shelter. After reading on-line that the black ink in most inkjet printers is permanent, I printed the stamp onto a sheet of cotton fabric. Then I colored the design with crayons and heat set the color (using the same process described with these Valentine fabric postcards.) 

I do plan to wash this mug rug before adding it to my Christmas gift stash for December, just to make sure the printer ink is colorfast. I hope so, as I plan to finish a similar mug rug next month. I will let you know how well it washes with that post in February!


Thank you for visiting!
-Renee


This is my 4th year participating with the 1 X-mas Item a Month Blog. You may see what others are working on here.

Sunday, December 24, 2017

Crazy Quilted Christmas Stocking

Creating this stocking has been such a joy!

This was project #10 on my 2017 UFO Challenge through allpeoplequilt.com. It was the June project. Clearly, I took my time finishing it.


This is how it looked when I shared my 2017 UFO List last December. 

"Magical Ride" from the Stoney Creek Collection: Cool Friends Book 211 was cross-stitched in June

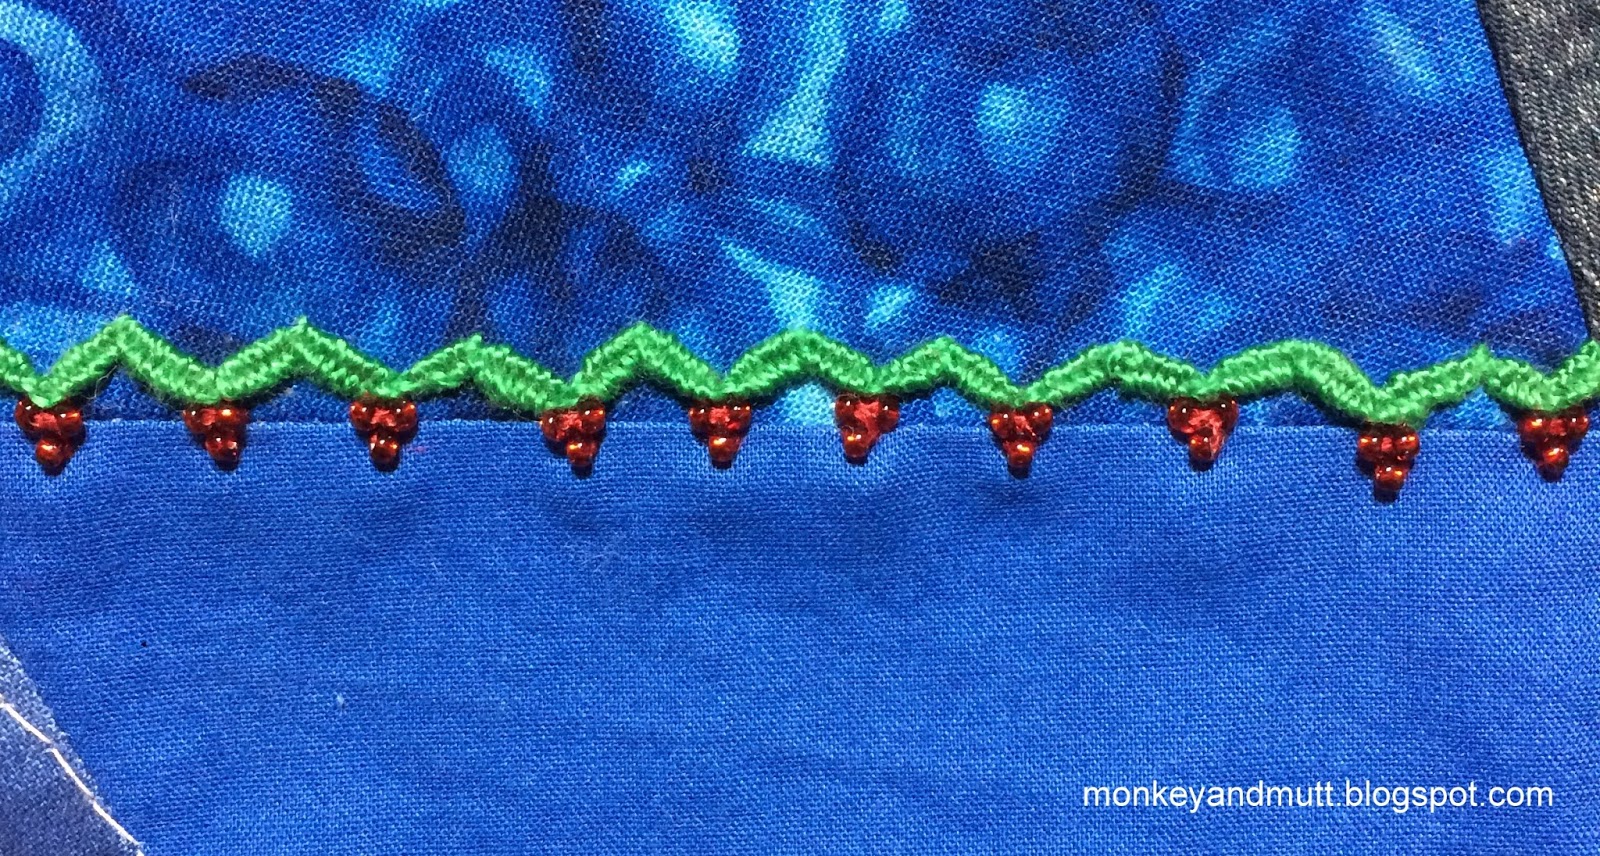
A woven zig zag chain stitch from TAST was added to embellish a seam of holly.

Oops! It looks like I shared the Christmas tree seam near the bottom on Instagram, but forgot to share it on the blog in October.

Chevron stitches were used to couch down a blue ribbon, straight stitches filled in the "trees", bugle beads became tree trunks, and yellow beads became stars.

Raised Herringbone Band from TAST was added in November. 

An angel seam, inspired by An Encyclopedia of Crazy Quilt Stitches and Motifs by Linda Causee, was added December 3rd.


A simple snowflake seam was next.

No stocking can have enough embroidered snow, so I added more snowflakes.


Every stocking needs a Christmas tree, right?! 

Inspired by the work of Nicki Lee Seavey's block featured on the Crazy Quilt Quarterly Magazine, a bit of JOY was added


More trees decorated a seam.


A wreath earring...


...and a button seam were next.


A poinsettia was inspired by the work of Michelle at Moosie Stitch.


A snowy night with a Christmas Star and a snowman were fun to embroider.

The crossed buttonhole stitched trees were inspired by TAST and the work of Anneliese at Stitching Lady

A few more snowflakes and a polymer clay snowman completed the stocking.

Thank you for joining me in my stitching journey!

If you celebrate Christmas, I wish you a very Merry Christmas. For those of you with differing beliefs, I wish you a wonderful holiday season!

Our Christmas is looking a little crazy (quilted!)

Warmest wishes,
Renee


The American Patchwork & Quilting 2018 UFO Challenge has been announced at allpeoplequilt.com. You may learn more about it here. The January project will be #12.


TAST stands for Take a Stitch Tuesday. It is a personal stitching challenge offered by Sharon B. of pintangle.com. The next round will begin in January 2018. You may read about it here


This is Day 24 of the 31 Day Blog Writing Challenge hosted by www.muppin.com. You may learn more about it and find other participating bloggers here

Note: I will not be posting on Christmas Day.