Showing posts with label Mug Rug. Show all posts
Tuesday, February 27, 2018
Another Snowman Mug Rug
While having my tires rotated today, I finished sewing the binding onto this mug rug.
I printed the "Snowman" digital stamp from The Paper Shelter onto fabric and colored it at the same time I printed the mug rug I finished last month. And I am happy to say that the black ink from the inkjet printer washed beautifully.
As part of the 1 X-mas Item a Month Blog, I am striving to complete at least 12 Christmas items this year. You may see what others are creating here.
Monday, January 29, 2018
Pink Snowman Mug Rug
Today, I finished hand sewing the binding on this mug rug.
The "Snowman" is a digital stamp from The Paper Shelter. After reading on-line that the black ink in most inkjet printers is permanent, I printed the stamp onto a sheet of cotton fabric. Then I colored the design with crayons and heat set the color (using the same process described with these Valentine fabric postcards.)
I do plan to wash this mug rug before adding it to my Christmas gift stash for December, just to make sure the printer ink is colorfast. I hope so, as I plan to finish a similar mug rug next month. I will let you know how well it washes with that post in February!
Thank you for visiting!
-Renee
This is my 4th year participating with the 1 X-mas Item a Month Blog. You may see what others are working on here.
Wednesday, November 1, 2017
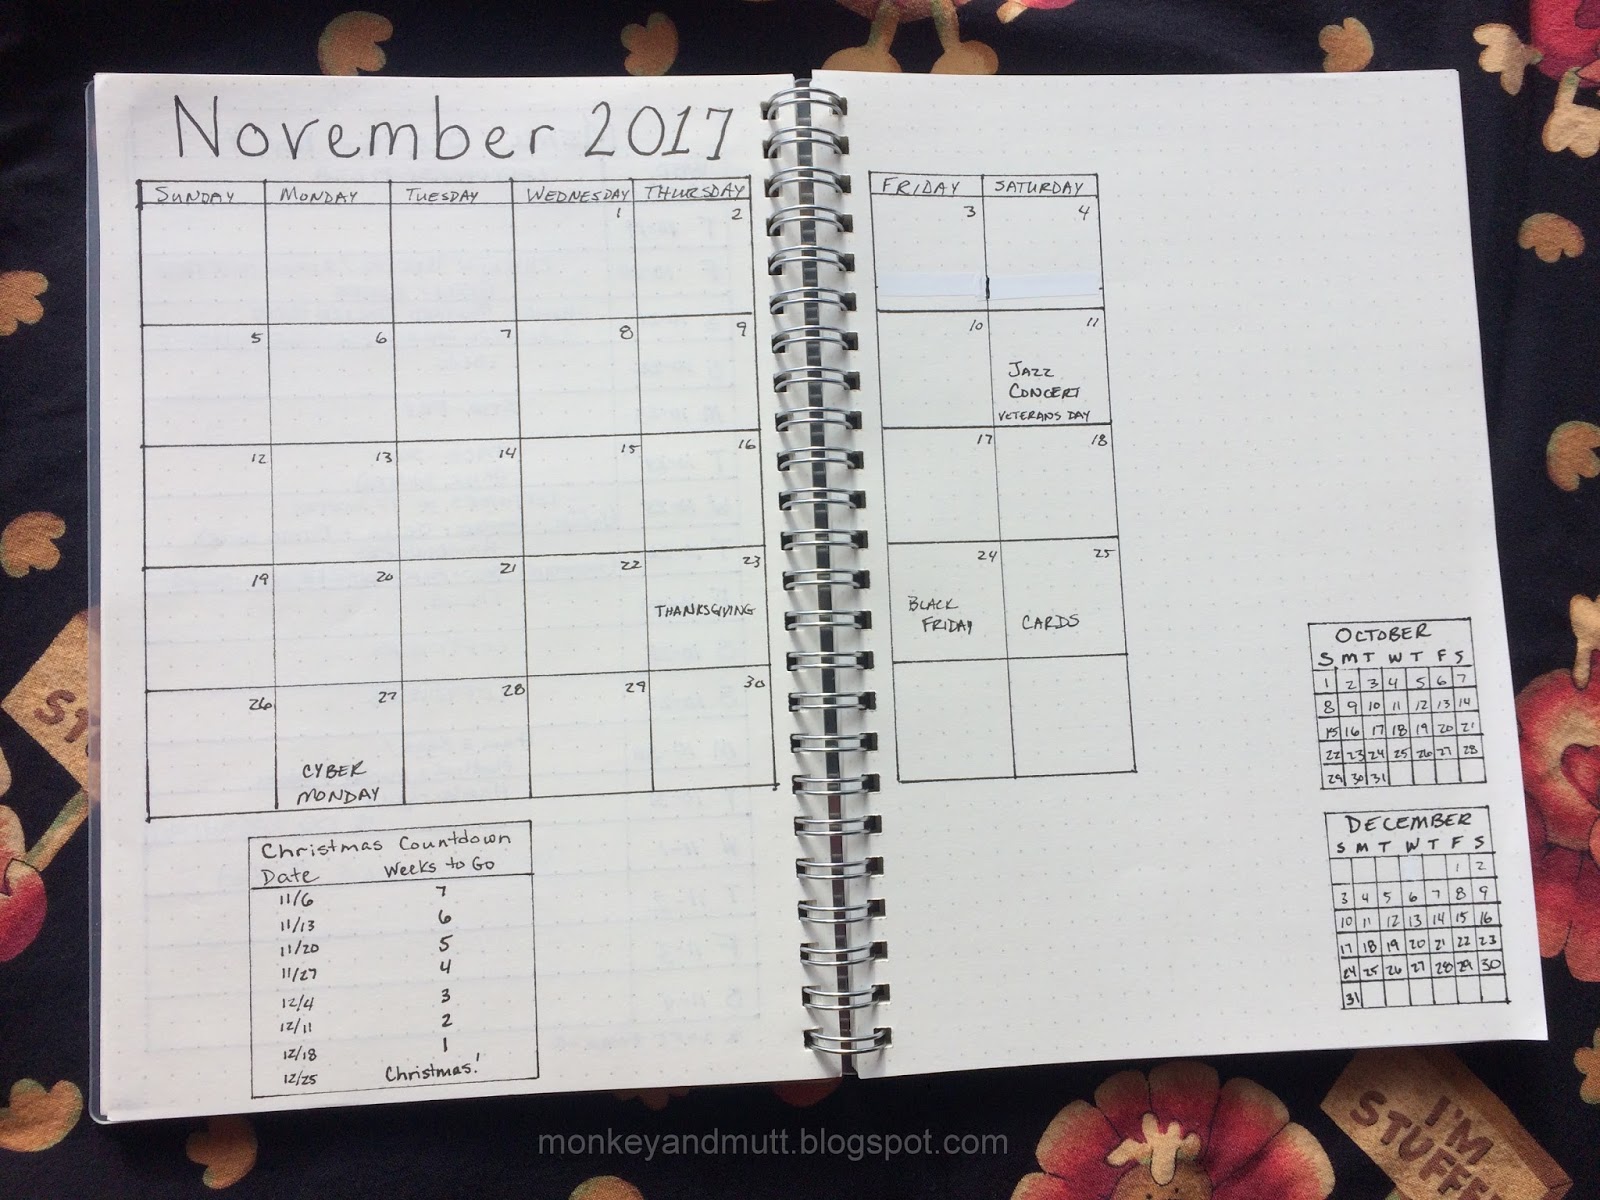
November 2017
November has arrived.
In just 2 months, we will be greeting the year 2018.
Progress with my October goals:
The list of October goals may be found here.
Click on any photo for a larger view.
A clutch purse was created with my May CQJP 2014 block. This was my August 2017 UFO Challenge project. More details are in this post.
Click on any photo for a larger view.
A clutch purse was created with my May CQJP 2014 block. This was my August 2017 UFO Challenge project. More details are in this post.
Sun, Sand, and Sea BOM Block 9
"Bathing Beauty" was completed! The blog post is here.
This is a lovely design, but I may set it aside until after the holidays to finish. The classes take some time.
Other October Accomplishments:
This fabric postcard was created for a swap. It was yet another finish, as the cross-stitched pumpkin has been sitting in a drawer for about a year. The blog post is here.
This small zipper pouch coin purse was added to my Hand Stitched Treasure Etsy Shop. The blog post is here and the Etsy shop is here.
Progress was made on my Crazy Quilt Journal Project (CQJP) 2017 March block.
NOTE: You may sign up for CQJP 2018 November 1, 2017 - December 31, 2017. Find the rules here and the registration info here.
November Goals:
2. Add a label and a hanging sleeve to this "Sealed with a Kiss" quilt. This is a smaller version of the pattern in the book Hearts Aplenty by Lynda Milligan and Nancy Smith.
4. Finish "Beach Boy Freddie", the September block of the Sun, Sand, and Sea BOM at Sew Incredibly Crazy and Friends.
5. Finish the October Sun, Sand, and Sea BOM from Sew Incredibly Crazy and Friends. (Due to Internet issues, it has not yet been shared on Amy's blog, but there is a sneak peek at Moosestash Quilting.)
6. Sew the second border on my "Hearts Askew" quilt and stitch around the appliqued hearts. The pattern is from the book Hearts Aplenty by Lynda Milligan and Nancy Smith.
I found the fabric and finished the first border in October. (#3 on my APQ 2017 UFO Challenge List - selected in October.)
7. Finish my Kit and Clowder October Pencil Class. So far, I have printed the stamp onto paper. The Special Edition Snowman and Penguins digital stamp was designed by Crissy Armstrong specifically for this class and is only available a limited time at Whimsy Stamps, so this link goes to their digital stamp collection - not directly to this stamp. It is incredibly cute!
8. Finish Christmas gifts to share on the 1 X-Mas Item a Month Blog. In October, I made progress on two mug rugs featuring the "Snowman" digital stamp from The Paper Shelter.
Top 5 Posts Viewed in October:
1. Red, White, and Blue Handbag - link found above or here
2. October - link found above or here
3. 2017 CQI Halloween/Autumn Fabric Postcard Swap - link found above or here
4. CQJP 2017 March Block Motif 5 - here
Saturday, January 28, 2017
1 Christmas Item a Month - January 2017
| Merry Christmas North Pole Mug Rug |
Yay! I have a finish!
This has been a UFO (Unfinished Object) since 2015.
A few of you may recall my *brilliant* plan of trying to design 48 mug rug patterns that could also be incorporated into a quilt.
Had you seen my attempts to bind this little mug rug last night,
you might understand why I am laughing out loud as I type this. (My list of things I am grateful for now includes seam rippers.)
I do have notes and will share a tutorial on how this block was created at a later date.
I love the Merry Christmas fabric on the back.
I found it at JoAnn Fabric.
I think it is Holiday Inspirations Merry Christmas Red Metallic.
I used a false back and "quilted" the mug rug (if one may call it that) with the snowflakes embroidered and beaded on the white) and then covered that with this pretty fabric.
I followed a series of 3 videos shared by Stitches of Love on YouTube to re-learn how to bind a mug rug. You may find them here: part 1, part 2, & part 3. I am not affiliated with their site and all of my errors were due to my lack of experience and not quite seeing how it was done. (I taught myself how NOT to do it first.)
Hand embroidered buttonholes tacked down all of the raw-edge applique. Merry Christmas and the pole for the sign were hand embroidered with stem stitches. And snowflakes were embroidered with fly stitches and/or straight stitches. Mill Hill Petite Glass Seed Beads created a few tiny snowflakes or embellished the larger ones. (The snowflake above is my favorite on the block.)
Last November, I did not share a 1 X-mas Item a Month post. It was a crazy month with no finishes.
I forgot to share this little zipper pouch I made for a blogging friend. (You may find her work at DesertSky Quilting and CQ4Fun.) I was just waiting for her to receive it before sharing it on-line. (November was a rough month and I completely forgot!)
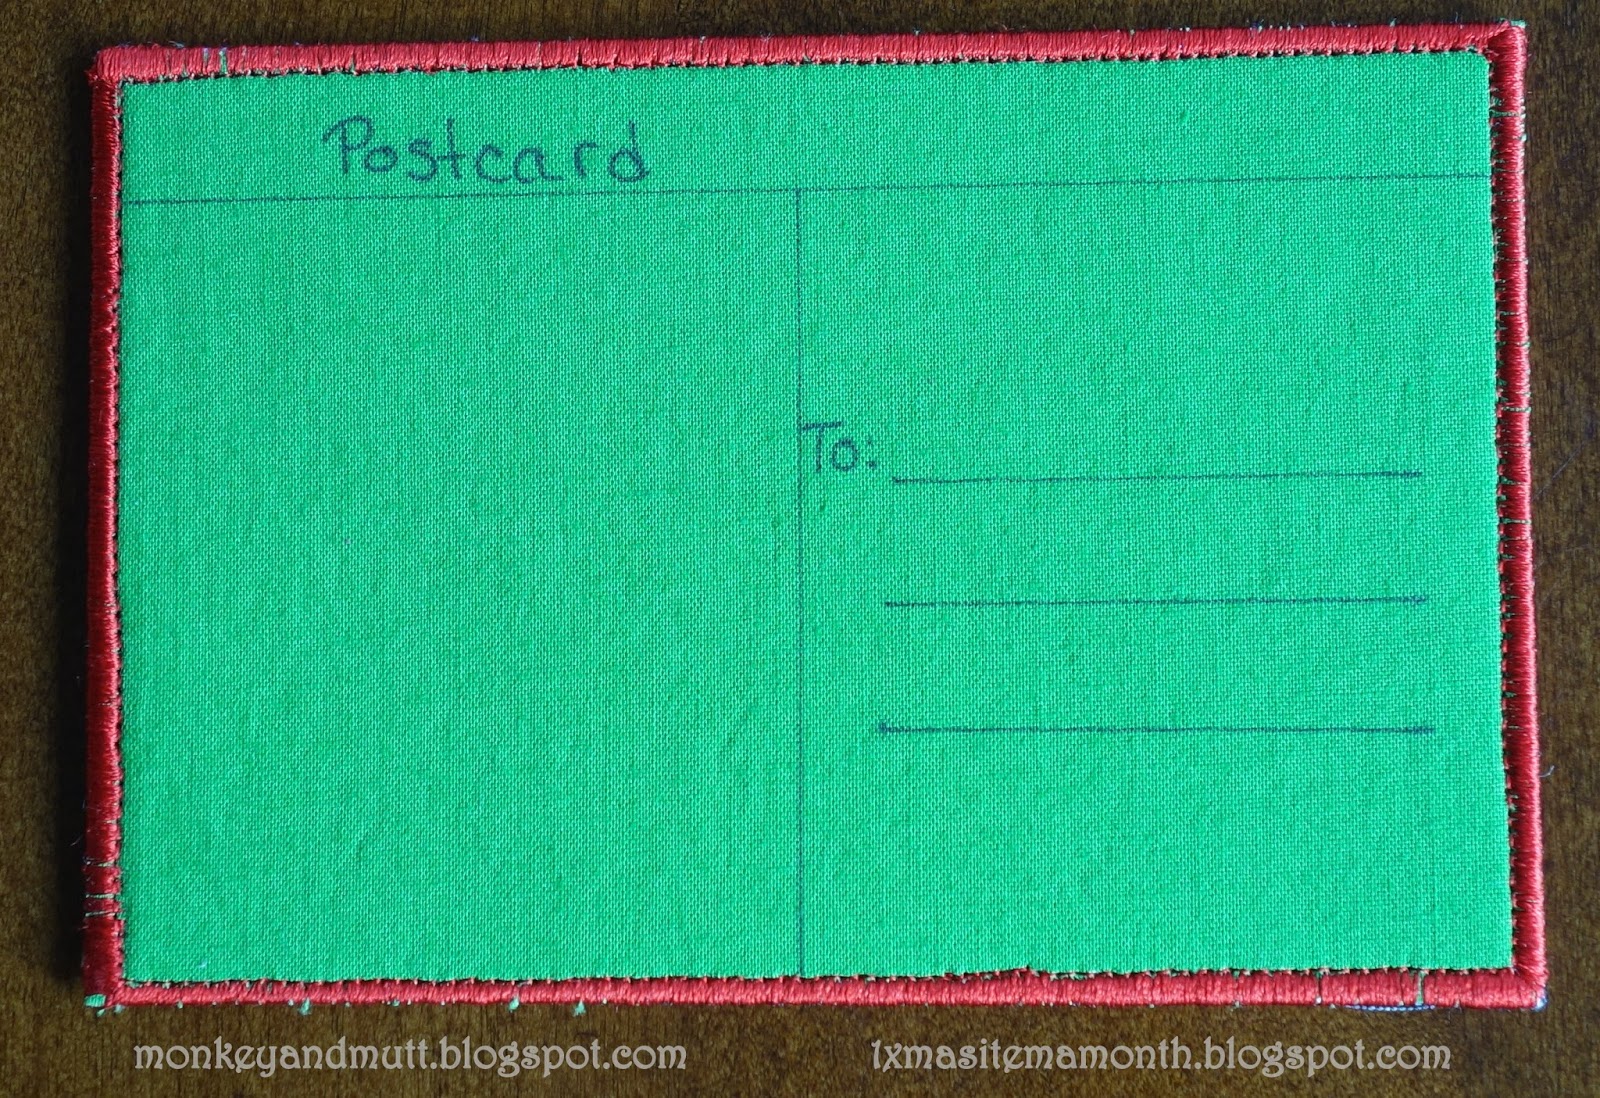
I also forgot about this fabric postcard I finished in December.
(You might remember the Holiday Inspirations Fabric - Susan Winget Peeking Snowmen fabric from the tote bag I shared in December of 2015.)
For the back, I used green fabric.
Here is a question for those of you with more experience mailing fabric postcards: Will a stamp stick to the fabric if you mail the postcard without a clear plastic envelope?
Thank you all for stopping by!
Renee
Participating with the 1 Xmas Item a Month blog motivates me to complete Christmas gifts before the rush of the holiday season arrives. I want to thank Narelle for all she does in her workshop!
Tuesday, May 13, 2014
My First Mug Rugs
On Saturday, the day before Mother's Day, I decided I should make gifts for my mom and my mother-in-law. They would be more meaningful than anything I could buy, right? (The day before was not the best timing, but it all worked in the end. Sleep is overrated, right?!)
I felt a bit like a child again, drawing a picture for Mother's Day. I just took the picture to a new level this time.
Now, I must admit, I have been a bit fascinated by the concept of a Mug Rug. They are larger than a coaster, but smaller than a place mat - making them perfect for a beverage and a snack. So, I decided to make mug rugs.
After looking up several tutorials and sketches of birds and birdhouses, I decided to draw my own picture and to take ideas I liked from several mug rug tutorials. (I did not reverse the pattern when I cut my applique pieces out, as I did not mind if the bird sat on the left or the right.)
I do not trust my sewing skills, so I made three mug rugs. This allowed me to work the quirks out with the one for our household, instead of on the gifts.
I liked the way the mug rug at SameliasMum.com outlined the applique with charcoal thread. I only had black, and liked the way it turned out.
As you may recall, my boys insist my mother's gifts are pink, soft, and fluffy. This passed their inspection.
I used more of the poppy fabric for my mother-in-law's gift, as it is her favorite flower.
To bind the mug rugs, I chose the 2-fold method shared at The Patchsmith. Using the slip stitch in the back took me quite some time, but I made dramatic improvements with that stitch!
I had so much fun making these, I would not be surprised to see a "sane" quilt make it to a To Do List shared on a WIPW post one of these days!
I do have a question for those of you with more quilting experience.
Is there a secret to machine quilting to avoid loops in the top
thread? I imagine it was a tension issue, but I could not quite manage
to solve the problem with changes I made. Any tips or advice are most welcome!
I hope you all had a wonderful weekend!

| Bird and birdhouse sketched in a 6 x 7 inch rectangle for mug rug pattern. |
Now, I must admit, I have been a bit fascinated by the concept of a Mug Rug. They are larger than a coaster, but smaller than a place mat - making them perfect for a beverage and a snack. So, I decided to make mug rugs.
After looking up several tutorials and sketches of birds and birdhouses, I decided to draw my own picture and to take ideas I liked from several mug rug tutorials. (I did not reverse the pattern when I cut my applique pieces out, as I did not mind if the bird sat on the left or the right.)
| Blue Birdhouse Mug Rug by Renee |
I liked the way the mug rug at SameliasMum.com outlined the applique with charcoal thread. I only had black, and liked the way it turned out.
| Pink Birdhouse Mug Rug by Renee |
| Red Birdhouse Mug Rug by Renee |
To bind the mug rugs, I chose the 2-fold method shared at The Patchsmith. Using the slip stitch in the back took me quite some time, but I made dramatic improvements with that stitch!
I had so much fun making these, I would not be surprised to see a "sane" quilt make it to a To Do List shared on a WIPW post one of these days!
| Blue mug rug by Renee with a cup of cocoa in an M&M mug. |
I hope you all had a wonderful weekend!
Subscribe to:
Posts (Atom)