Monday, November 18, 2013

CQI Winter/Christmas DYB Round Robin blocks pieced by Donna A.

I am now working on the last set of beautiful blocks pieced by the ladies in our round robin.  Donna pieced these beauties.  The fabrics are lovely to hold and to work on! (Click on photos for a larger view.)

Kathy B. was the first to work on Donna's lovely blocks.  She did such an amazing job, setting a high standard for the rest of us to meet.  I love the snowman!  Of course, I love so many aspects of this block, it is hard to choose a favorite part.

Melody B. was the next to receive these beauties.  I just love her seam treatments, the unique snowflake applique, and the tiny beaded gold stitches in the lower-left corner are so delicate!
Kathy S. received the blocks next and did such a beautiful job!  I love everything about this block, from the tree, to the seams, to the wind blowing in from above.
Barbara W. completed the next block.  The tree is even more amazing to view in person.  Her seams are fantastic!  And the snowflakes add such a perfect touch.  I love the stitches beneath the trees, adding details to the snowy ground.
I was left with two blocks to choose from, and I immediately chose the one above.  I could see another landscape formed upon it quite easily.  So, I sketched out a couple of ideas.
The following evening (last night) I sat down to get to work, and I changed my mind.  Although it seemed far more challenging to me, I decided to work on the block above instead.  I sketched out my ideas (some of which will already need to change) and got to work.

This is going to be fun!  I cannot believe this is the last rotation before our blocks will be sent home.  This has been an amazing group to stitch with!

Thanks again for stopping by!
Renee

Saturday, November 16, 2013

CQI Winter/Christmas DYB Round Robin - Completed block for Kathy B.

Kathy B.'s block after embellishing.
Kathy B.'s block before embellishing
This was such a fun block to work on!  I began by couching 6 strands of gold metallic floss around the Santa patch in the center.

When I shared Kathy B.'s blocks, I cannot believe I forgot to mention she included a lovely little goody bag for each of us that worked on it.  Ironically enough, I already had some of the holly border, and was thinking it would go great with the colors in this block.  (I purchased my holly border from Evening Star Designs.  Sadly, they are going out of business.  They are having a huge close-out sale at this time.)
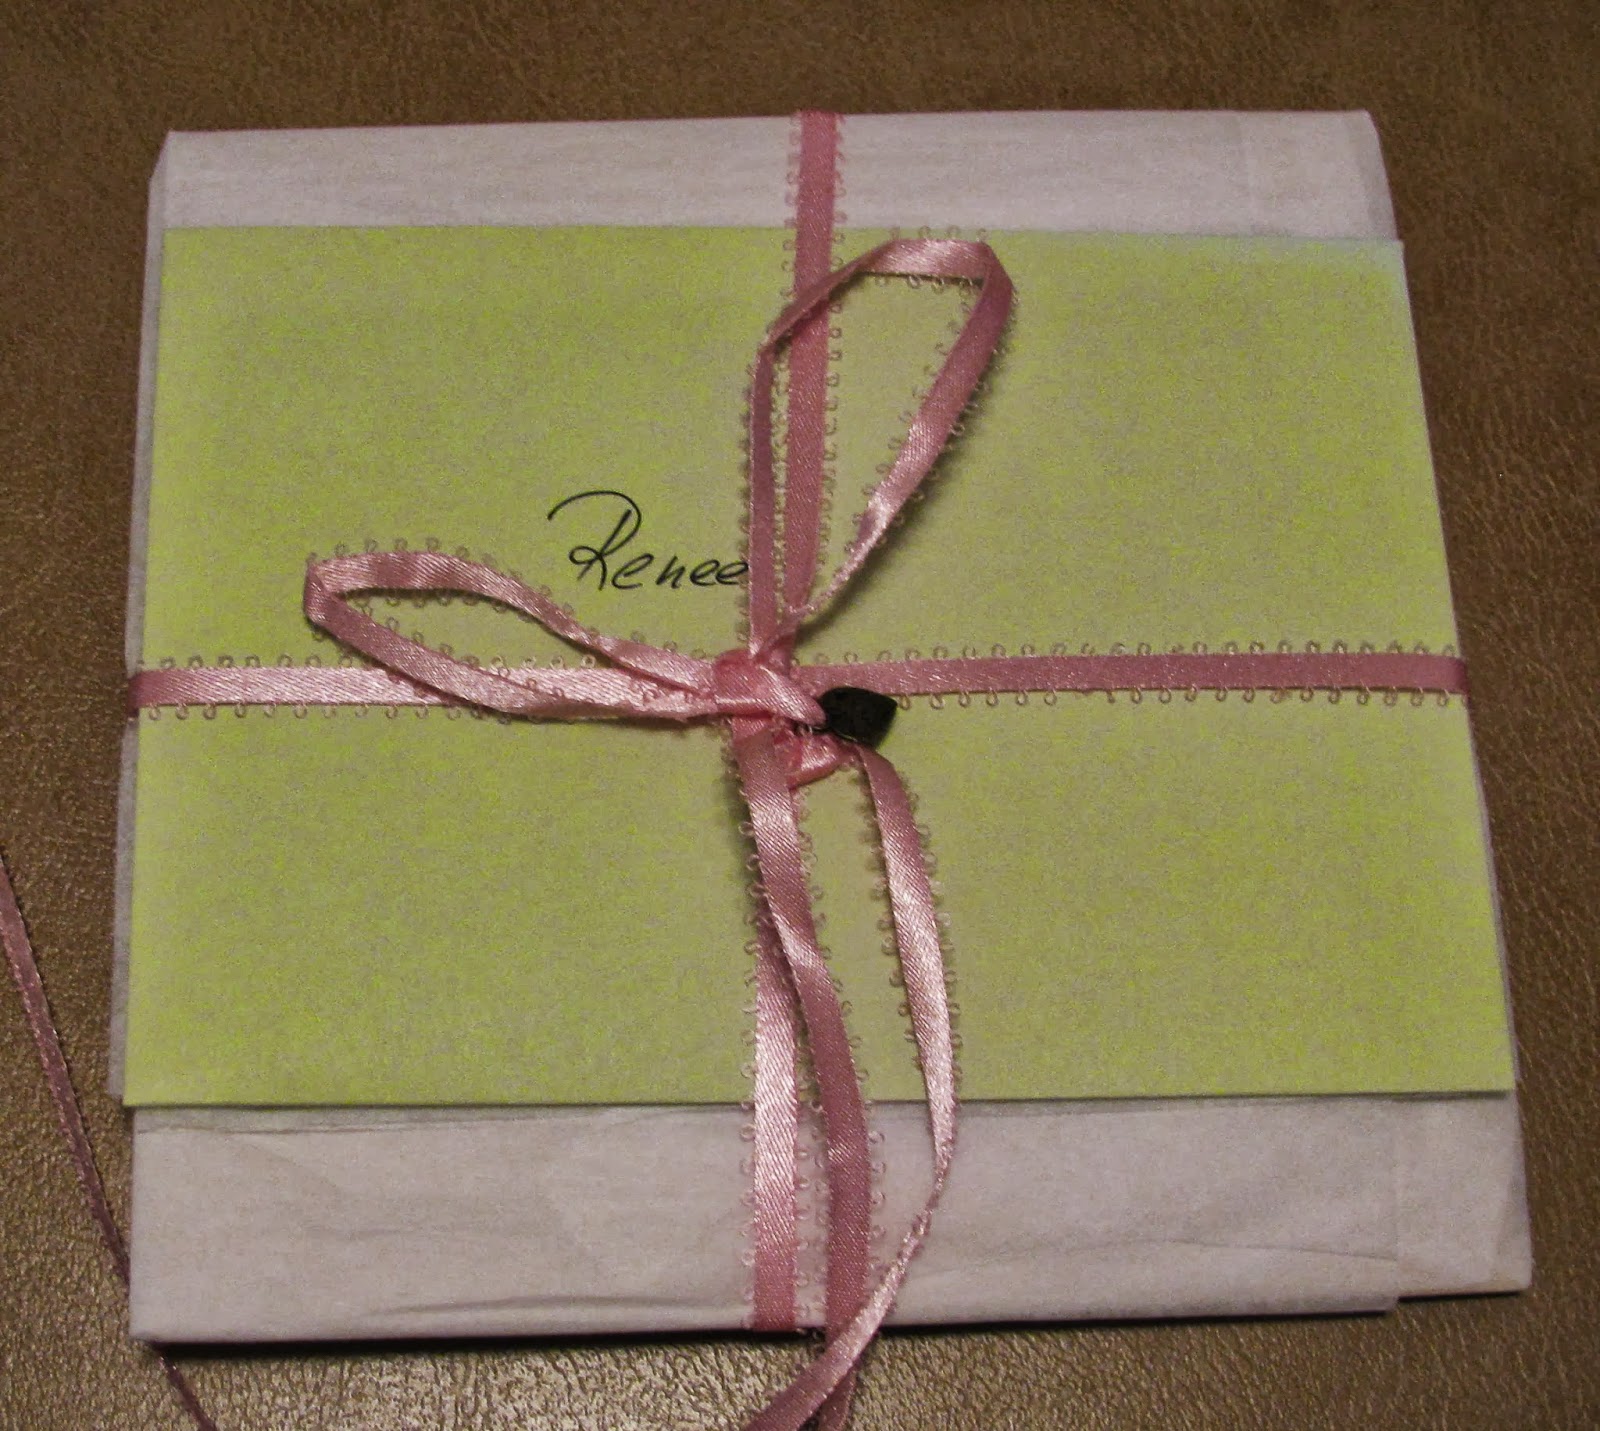
Goody bag from Kathy B.  What a sweet treat!
I cut holly leaves from the trim and stitched them onto the block using a single strand of DMC green metallic floss.  Then, I stitched 3 red seed beads to each pair of leaves.  (I am still wondering if I should have used larger beads, but I think I like the way these turned out.)

I saved the section on the red fabric and added this stocking button after most of the stitching had been completed.  I found the button at Canby Quilt & Fabric when I dropped by to pick up more EdMar rayon floss.  The shop owner informed me the shop will be moving - I believe closer to Estacada, Oregon (I will have to find out) around Christmas.  She also told me these adorable ceramic buttons were made by a lady here in Oregon that was selling out her inventory. 
It is hard to see in the picture above (as I typed over it), but I couched a single strand of gold metallic floss (a slightly different shade than that used around the Santa fabric) around the flowers on the printed fabric in the upper-right-corner. 

Two strands of the metallic gold floss (matching that used around the Santa fabric) were couched down on both sides of the black ornament ribbon.  Mill Hill Old Gold glass seed beads #00557 were stitched on using a single strand of DMC 667 floss.  (I have had these beads in my stash for ages.  I LOVE the fact that there is a DMC conversion chart for Mill Hill beads, to help one stitch them on with a matching colored floss.  The store where I purchased the beads was in Reedsport, Oregon, and it closed years ago.  I have found them for sale at Acorns and Threads in Portland, Oregon.  I have also found them at Joann.com as an on-line only item, and on Amazon.com.
The next step was inspired by some beautiful eye candy.  Looking for inspiration, I went to the Crazy Quilting International Blog and looked through Christmas and Winter themed blocks.  Inspiration struck while looking through the eye candy from the Christmas 2008 DYB photos.  If you visit that link and scroll down to Gerry K's blocks, you will see the seam treatment in Sherry's block for Gerry that inspired my embroidery here. (Give yourself some time - there is some AMAZING stitching to admire amongst those photos!)

In the lower, right-corner, I used a single strand of EdMar Iris #101 red embroidery floss and back-stitched the outline of a swag ribbon.  Next, I used a satin-stitch to complete the swag.  For a final touch, I used a Christmas Red shade of RiverSilks 4 mm ribbon to create bows along the swag.  (Don't look at them too closely, or you will see I need more practice with Silk Ribbon Embroidery!)  I am not perfect with my satin stitches, and this section alone took about 6 hours to complete, but I was quite pleased with the way it turned out.

Note to self: when using a satin stitch along a seam (which means stitching through 3-4 layers of fabric in some places), I may need to actually use a thimble. 

A small Santa charm looked perfect along the dark green fabric.  (He was a part of a Christmas Charm Pack I purchased from Evening Star Designs when I purchased the Winter Challenge 2013 Kit.  At the time of this posting their close-out sale indicated they had one pack in their inventory.)

This section was still SO bare.  I thought of adding snowflakes, but they did not look right.  A Christmas tree?  No.  In the end, I made a bright Christmas star and stitched in the ground with a single strand of gold metallic DMC floss.
For the last section, I added a few poinsettia-like flowers along the upper seam with 2 strands of DMC red rayon floss #S666.  Old Gold Mill Hill glass seed beads made the perfect centers for the flowers.

Next, I attempted to use an old vintage iron-on transfer pattern (that I traced onto tissue paper) to stitch on the outline of a gold bell.  However, this fabric was not ideal for the outline, so I had to remove that and decide what to put in its place.  I considered a wreath, but was not happy with how it would sit in the triangular shape.  In the end, I stitched a tree with 2 strands of DMC green metallic floss.  In the light I had, the contrast of greens worked well and the tree stood out from the green fabric.  As daylight faded, I worried it would not stand out enough, but I think it is okay (I hope!)  Mill Hill Petite Glass Beads #42010 (Ice) were stitched on with a single strand of DMC 762 floss to add some falling snow.

I wish I were creative enough to figure out how to enhance the Santa fabric in the center, but I feared any attempt would detract from his charm.

I hope Kathy B. likes the way the block turned out!

Happy Stiching,
Renee


Sunday, November 10, 2013

CQI Winter/Christmas DYB Round Robin Blocks Pieced by Kathy B.

On October 11th, I received the beautiful blocks Kathy B. pieced for the Crazy Quilting International Winter/Christmas DYB Round Robin I am participating in.
Melody was the first to receive this group of blocks.  She chose this one to work on, and I think it turned out beautifully.  (As pretty as they are, the pictures never quite do the blocks justice!)  I just LOVE the poinsettia in the red corner!
Next, the blocks went to Kathy S.  Her work is always so pretty.  I love the seams, how she embellished the poinsettia printed fabric, and her beautiful silk ribbon poinsettias!
Barbara W. received the blocks next.  She chose the pine cone block and did such an AMAZING job embellishing them.  This block is so pretty.

I was able to choose a block from the remaining three.  This was not easy, as I found them all simply gorgeous!


I chose to work on the Santa block above.  I began working on it a bit on Friday night (after finishing Rita's snowball), added a bit more to it last night, and hope to complete it by tomorrow so I can mail it on Tuesday.

I have worked so much with silver and blue the past few months, that I am really enjoying the reds, greens and golds.  Such fun!  I must admit, I always struggle with printed fabrics, so I am curious to see what I end up doing with the pretty fabric above Santa Claus.  I love a good challenge!

For those of you that may not know, Crazy Quilting International is a wonderful group that meets at Yahoo! that I discovered after stumbling upon their blog in 2012.  I am so thankful I joined their group, as everyone has been wonderful about answering any questions I have had.  The work others have done has been SO inspiring to me, and the encouragement I have received has been wonderful.  

A "DYB Round Robin" is one where 6 stitchers sign up.  We each make 6 blocks that are 6-inch squares.  We mail the blocks out each month through a rotation that allows each of the other stitchers to choose one of our blocks to embellish.  When the blocks arrive back at home, we will have 1 block remaining for us to embellish ourselves.  When my blocks make their way back home, I will be sure to share the beautiful work these ladies have done for me!

Thanks so much for stopping by!
Renee

A Snowball for Rita


A while back, I received the sweetest email from Rita in Kansas, asking me to swap snowballs.

I cannot tell you how many times I almost emailed her over the past few months, to see if she wanted to swap.  What stopped me?  Rita is collecting hexagon shaped snowballs, and I am still a novice in so many ways, I had no idea how to make a hexagon.

I kept meaning to look for stencils the next time I made it to JoAnn Fabrics, but I never remembered while I was there.  Making a hexagaon turned out to be so much easier than I thought!  I found a tutorial on-line and dug through my sons' old school supplies until I found a compass.  (Let me tell you, I want to find a good old-fashioned metal compass, because the plastic one I found widens as you turn it - which made the task a tad more difficult - lol!)  The tutorial I used was on craftpassion.com.

On our database listing preferences, Rita mentioned she liked pink, green and cream colors.  She also likes roses, birds, butterflies and dragonflies.  I tried to incorporate a little bit of each on this snowball.

I began by stitching the birch tree.  (As often as I have stitched one, you may think I like this tree!)  The pattern was adapted from Diana Lampe's book Embroidery for All Seasons.

Birch and Cottage Pinks adapted from Embroidery for All Seasons by Diana Lampe
Next, I added the birdhouse.  This is where I began to struggle.  I really wanted to use this birdhouse button from my stash, but it felt so large and bulky compared to the tree, that I worried I would not be able to balance out the block.

Mill Hill hand painted ceramic button #86172 "White Bird House"
Due to the depth of the button, I decided to make the flower vine out of silk ribbon, rather than floss.  I stitched a vine with floss and then added the small rose buds and leaves with 4 mm green and pink silk ribbon straight stitches.

Using a light green floss, I added little tufts of crass to embellish the seam between the green and pink fabrics.

Next, I added Cottage Pinks, flowers included in Diana Lampe's book Embroidery for All Seasons.  The flowers at the base of the birch tree used the colors listed in the book.  To add a bit more pink, I combined a strand of DMC 818 and 819 to make the flowers along the lower edge of the block.

Using 4 mm blue silk ribbon and 3 ribbon stitches, I made this little blue bird.  A single strand of DMC 3799 floss and two small straight stitches added the beak and the eye.

The butterfly is a Swarovski Crystal Elements 6 mm crystal bead.  (I purchased a 4-pack at JoAnn Fabric, but I believe the 8-packs on Amazon.com would have been a better deal - and they have more colors available than I found at the store I went to.)

Next, I stitched in the blue dragonfly with a single strand of blue perle cotton.  I used a single strand of DMC white metallic floss to stitch in the flight paths.

I am still figuring out the sewing machine my husband surprised me with for Mother's Day last year.  Unfortunately, I used the wrong stitch to try to finish the edges of the hexagon.  When I removed the stitches, the fabric was not very forgiving.  So, I am hoping the tiny holes this error left behind will be well-hidden in Rita's seams when she assembles her snowballs.  I do hope she likes this one when it arrives!

If you missed it before, this is the lovely snowball Rita mailed to me.

To see more of Rita's work, I encourage you to drop by her blog at fibermaidensartwork.blogspot.com!

Thank you for stopping by!
Renee

Monday, November 4, 2013

I Hate Hacking/Scamming/Spamming

Hate is a strong word.  I don't use it often.  But I really do hate hacking, scamming, and spamming.

I know I have been MIA a lot recently.  Today, I decided to at least take a peek at my blog, only to discover it received 30 hits yesterday.  That is unusual when I have not made any posts, or shared my blog address with my crazy quilting friends. 

So, I looked to see what the referring URLs were to my site.  I learned long ago NOT to click on the links listed there.  Spammers use this tactic to receive Internet traffic from the unwary, and some of those sites are reputed to have viruses and malware.

I Googled the name of the site listed and without clicking on them, but skimming the links my search brought up, I read claims that ourmeets has viruses and malware.  It is not a site I recommend visiting (in spite of its whopping Trust Score of 44% from one scam advising site.)

More disturbing, is that it sounds like others have had issues with fake URLs being posted using their photos and information gathered about them from the internet to make them sound legitimate.  These bogus URLs redirect the unsuspecting people that click on the links to the pornographic ourmeets dot com site - which, again, is reputed to be infested with viruses and malware.

I am hoping photos from this blog do not crop up redirecting others to unsavory websites.  Internet users beware.  I suppose the only advice I can offer is below.

1. If you have a link, never click on the links claiming to be referring sites.
2. If you Google such a site - unless you know it is safe - still do not visit that site.
3. You should only find my photos here at my blog, on Facebook, on the CQJP 2013 blog, and on Pinterest.  (Some of my Yahoo friends will also see pictures within albums in our group.)
4. Most of my photos have "monkeyandmutt.blospot.com" printed on them - so you don't have to risk clicking on a photo - even if you find it on Pinterest - you can just type in the web address.

If you have other advice, feel free to leave a comment.


Friday, October 18, 2013

A Gift Basket

Life has blessed me with an amazing husband and wonderful in-laws.  My sister-in-law is one of my very favorite people and she never ceases to amaze me.  She had a birthday recently, and I wanted to give her something homemade.

Inspired by a pin I found on Pinterest from a post on the Everyday Occasions blog for  Hostess Gifts, I put together the gift basket pictured above.

I picked up a cross-stitch towel at Michael's (much like this towel I found on Amazon.com) and cross stitched the Halloween pattern above that I found in the Good Natured Girls Holiday Towels leaflet. 

My Better Homes and Garden cookbook has a recipe for lemon bread that my boys both like, so I made a few mini loafs to add to the gift basket.

My wonderful husband was kind enough to dress the jars up with Oregon State Beaver Fabric.

The taller jar in the back contains homemade cocoa mix, inspired by a recipe I found via Pinterest.  The recipe is from In Jennie's Kitchen. I did not have vanilla powder, but I did have a vanilla bean.  So, I scraped the inside of the bean into the mix.

One of the smaller containers is vanilla sugar, in case the cocoa was not sweet enough.  (After taste testing the hot cocoa mix (which we made with almond milk) my youngest declared he did not like it.  My eldest did not care for it alone, but added some vanilla sugar and loved it.  My husband and I loved that it was not overly sweet.)  I do not remember where I read the tip about vanilla beans...  Somewhere, I read you can put the remainder of a vanilla bean (after scraping out the inside) into a container of sugar to create Vanilla Sugar.  The moisture from the bean makes the sugar a little clumpy, but we love the flavor.

The other container is homemade pear butter.  Another discovery from Pinterest.  I used unsweetened apple juice instead of water or pear juice, and used honey as the sweetener.  It was a huge hit with my eldest son - he wants me to make more.

It was fun to put some time into a gift especially for my wonderful sister-in-law.

What kind of homemade gifts do you like to give?

Thursday, October 17, 2013

CQI Winter/Christmas DYB RR - Completed Block for Melody

Block pieced by Melody and embellished by Renee
I believe this is the first time I finished a round robin block on the date I needed to mail it out.  I must say, I absolutely LOVE the colors and fabrics Melody used to make this block.  And I had a lot of fun embellishing the block.  That being said, I found this block to be one of the most challenging ones I have done to date.
Melody's block before embellishment
I came up with idea after idea for this block; yet, when I reached the next section, I found the threads I planned to use were too dark, too light, or simply did not go with the colors in the block.  So, the wheels in my little brain began chugging along until another idea caught hold that would work.  For the record, this block made me think and re-think.  I liked that. (I think - lol!)

Hopefully, Melody will like the end result.


The first step was couching silver metallic DMC size 5 floss over the silver tree in the center.

The white Ric-Rac seam stitched with blue metallic floss and lined with silver and blue seed beads was copied from my favorite seam on the stocking I made for the Evening Star Designs 2013 Winter Challenge.

The poinsettias in the upper-left were fun to add - using 4 mm white silk ribbon (I use RiverSilk) and blue beads.

Sparkly buttons I found buried in my stash were surrounded with DMC white rayon floss lazy daisy and straight stitches ended with white beads - in hopes of looking wintery.  Swarovski Elements 4mm Bicone Blue Bell Mix beads separated each of these wintery flowers.

Above the tree is a seam embellished with two snowflakes using white rayon floss and silver metallic floss.  A tiny white bead sits at the center of each.

The seam to the right of the tree is small blue metallic snowflakes, separated by clear white beads.

I wish the photo showed how the fabrics, threads, and beads play in the light!
Melody's block - close up of upper-left corner
A feather-stitched seam with white rayon floss embellished the seam between the silver and blue fabric.

The snowflake trim, I purchased at www.eveningstardesigns.net when I purchased the 2013 Winter Challenge Kit.

I made a small silver snowflake using DMC metallic size 5 floss.  Then, I used a silver metallic thread to make smaller star-shaped snowflakes around the rest of that blue and silver patch of fabric.

Melody's block - close up of the bottom-right corner
This was one of my favorite additions to the block.  Most of my blue shades did not fit the block, or blended right in; so, I simply HAD to go to a quilt shop and pick up a few new shades of EdMar floss!  (An excuse to buy CQ supplies!)  The blue uneven buttonhole uses one of those flosses - EdMar Iris #212.  Silver metallic floss and beads were used for the snowflakes, and white seed beads adorn the rest of the buttonhole stitches.  I thought of this like a streamer with paper snowflakes hanging from it as a winter decoration.

I found this Holiday Glitz Swirl Snowman Charm (part of a set of 3 charms) at JoAnn Fabric and thought it was absolutely adorable.  (I hope Melody likes it!)
Originally, I planned to add a small tree here.  However, the threads I have did not want to cooperate with the fabric colors.  So, I decided to finally try using bugle beads.  Obviously, I need more practice, but I still like the way this snowflake turned out.
For this tree, I twined one strand of DMC metallic white floss and 1 strand of Edmar Glory #071 (a variegated blue) and used a stem stitch for the tree trunk and straight stitches for the branches.  I couched the longer branches down with a single strand of the DMC white metallic floss, and added curvy stem-stitches with two strands of this same floss at the bottom for a snowy ground.  I had to be careful because the lighter shades of the variegated blue did not show up well on the pretty fabric below (I removed a few branches that blended in and carefully avoided those stretches of the variegated floss on the rest of the tree).  It was a fun, easy tree to make!

Thank you so much for stopping by to see what I have been up to.  I do hope Melody likes her block!
-Renee


Tuesday, October 15, 2013

A Snowball from Rita in Kansas!

Crazy Quilting International Snowball Swap
 Look at what arrived in the mail on Friday!  My snowball from Rita in Kansas.  It is absolutely darling!

I love the lacy snow at the bottom and the snowflakes filling the air above.  However, the beaded snowman is simply adorable!
Beaded snowman Rita made for me.
Now, I have to admit, as much as I enjoy crazy quilting, mailing items out is probably my least favorite part of round robins and swaps.  I tend to get in a hurry - so much of a hurry that I have forgotten all about sending so much as a note with some of the snowballs I have mailed out.  Well, until I made it to the post office and sealed the bubble-wrapped envelope closed.  (Those are amongst the smack-myself-in-the-forehead moments in my life.)

Rita, quite obviously, does not share my problem.  Just look!  This was so pretty, I did not want to open it.  (Okay, knowing what I would find inside, I actually did want to open it - but I HAD to take a picture first.)
This was such a fun package to receive.  I love swapping snowballs!  (And, I hope to have Rita's snowball finished and mailed out by next Monday - or sooner.)

To see more of her pretty work, just visit her blog at fibermaidensartwork.blogspot.com.

This beautiful snowball is the third in my collection.  All three are pictured below.  I absolutely adore them all!  (You may click on any image for a larger view.)
My snowball collection as of October 2013.
I have no idea how I will assemble them after I collect a few more; and, I am pretty clueless about sewing circles.  That project will be a challenge in itself, but a fun one, I am sure!

(For those of you wondering what CQI is, it stands for Crazy Quilting International.  I stumbled upon their blog less than 2 years ago and saw so much eye candy that I surprised myself and joined their Yahoo! groups.  It has been a great way for me to learn, ask questions, and see so many inspiring pieces of crazy quilt art.)

Monday, October 7, 2013

Another Snowball!

A couple of weeks ago, I received the sweetest email from Rita in Kansas, asking me about a snowball swap. 

My husband teased me, as I was still working on my stocking for the Evening Star Design 2013 Winter Challenge, I have a block to finish for my CQI Winter/Christmas DYB round robin, I have not touched my messenger bag in ages, and I am still working on my CQJP 2013 May block - yet I happily agreed to the snowball swap! 

Rita does such lovely snowballs, I could barely wait to see what she might make for me.  Yesterday, she posted a picture on her blog at Fibermaidensartwork.blogspot.com. 

CLICK HERE to see the adorable snowball heading my way and the beautiful snowball heading to Margreet in the Netherlands. 

Now, I need to get a move on and finish my snowball!

I hope you all have a wonderful week.

Friday, October 4, 2013

2013 Winter Challenge Results Posted at Evening Star Designs!

Remember the beautiful kit I received on June 18th for the Evening Star Designs 2013 Winter Challenge?  Well, I finished my project on the deadline - September 15th - and mailed my pictures in to enter.  The results were posted today! 


Last year, I decided I wanted to make a stocking for myself.  When I heard about the winter challenge, I decided it was just the push I needed to complete the project this year.

To see the other beautiful entries, just CLICK HERE.  I love seeing the different way the same materials were used! 

There was also an Evening Star Designs 2013 Miniature Challenge.  To see those beauties, CLICK HERE.

I did not win a prize through Evening Star Designs, but I had a lot of fun, tried some new techniques, and ended up with a stocking that will become a family heirloom someday. 

Top Close-Up
Middle Close-Up
Bottom Close-Up

Here was the block after it was pieced.  I traced a stocking I liked the shape of onto muslin and then added a few inches to the height so it would meet the 100 square-inch requirement for the challenge.  (It was just over 102 sq. in.)

The snowman in the center is from a fabric in my stash that I really like, but have been unable to use.  Of course, once I began stitching, I had to keep reminding myself I was limited to a winter theme.  (Christmas ideas kept popping into my mind!)

One of my favorite seams.
When I painted the stenciled words onto my blocks for the CQI Winter/Christmas DYB RR, I also made my first attempt to paint a motif on fabric with acrylic paints.  Once the paint was dry, I set it with the heat of a dryer.

I checked a painting book out of the library and read about shading fruit.  The book used black paint beneath the color used for the fruit.  I opted to use a blue paint.  I let each layer of paint dry for a day before moving on to the next step.
I stuffed some batting beneath the circle so it would round out like a real snow globe.  To be honest, I was not sure I was happy with this addition, but opted to leave it anyway.  I added metallic blue thread around the border so it would stand out a bit better.


I wanted to add a button cluster, but could not find a combination that pleased me.  While moving the buttons around I was struck with the idea of this snowman.  I was so happy with this little fellow (pictured here without his scarf) that I added one to Kathy's block in our round robin.

I had a hard time thinking of something to stitch on the snowflake fabric, so I opted to embellish the snowflakes on the fabric.

I traced a few of those snowflakes onto tissue paper and stitched them onto this section near the top of the stocking.
 The tree in the little scene above (with the wind blowing in from the right) is my husband's favorite addition.  I just happened to find the little snow globe button stashed away with a few beads I purchased for a Christmas project a few years ago.


 The snowflake/snowman border along the ribbon was fun to make!  And, I do love snow days - as long as I do not have to drive anywhere!


I adapted the poinsettia from a motif design in The Silk Ribbon Embroidery Bible by Joan Gordon.

The tree was adapted from the pencil pine in Diana Lampe's book Embroidery for all Seasons.  (If it looks familiar, I stitched a pencil pine onto Barbara's block in our round robin.)

A few more snowflakes and a sparkly button I picked up at JoAnn Fabrics finished up this section.
It is hard to think about winter without picturing a nice cup of cocoa to warm up with!  I do not think of myself as an artist, so I was quite pleased that I was able to sketch this cup and the steam and actually stitch it so it looked half decent! (It is the little things in life...)
This blue snowflake fabric I found in my stash was perfect for the back.


I enjoyed this challenge so much that I signed up to receive the Evening Star Design Newsletter so I will not miss hearing about next year's challenge.